Discover a way to make colorful patterns with Panpastels
and create cute puffy brooches!
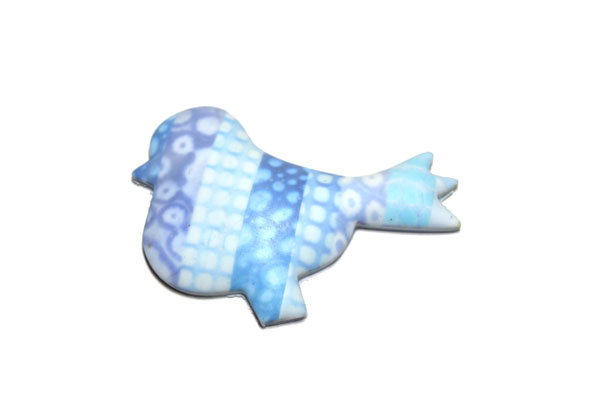
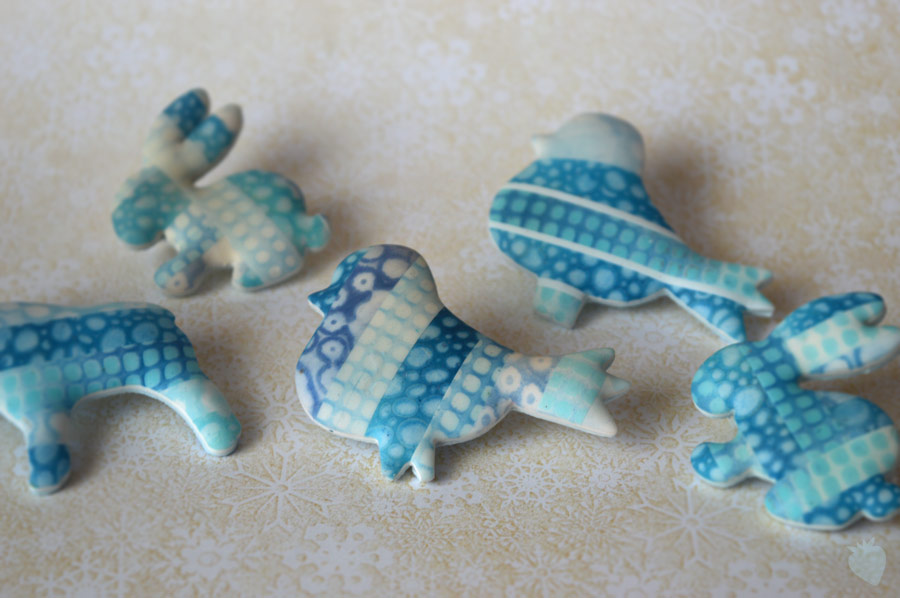
Animal brooches

and create cute puffy brooches!
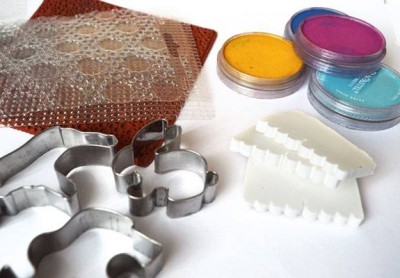
FIMO clay is used in this tutorial, this technique also works with Premo. The other clay should work also well.
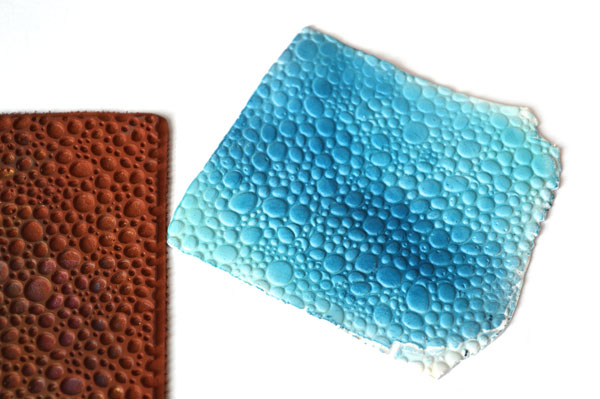
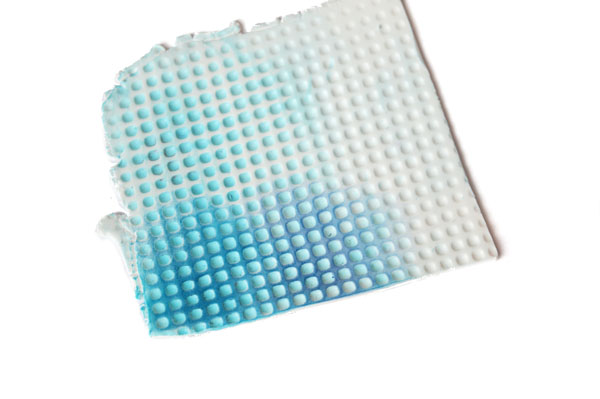
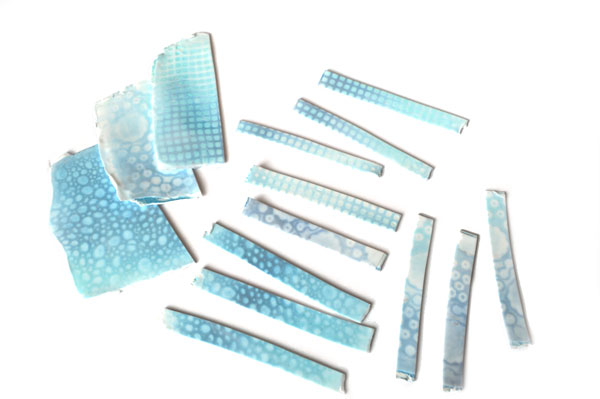
Make a sheet of white clay on medium setting of your pasta machine. Apply Panpastels with your fingers, choose colors and blend them as you like.
Wrap baby wipes around your finger and wipe off color, which is on raised parts. You can leave them tinted or wipe to white.
Press colored side on your work surface and put paper on. Roll the sheet until it is smooth.
Pastels will be better absorbed and not smudge a pattern.
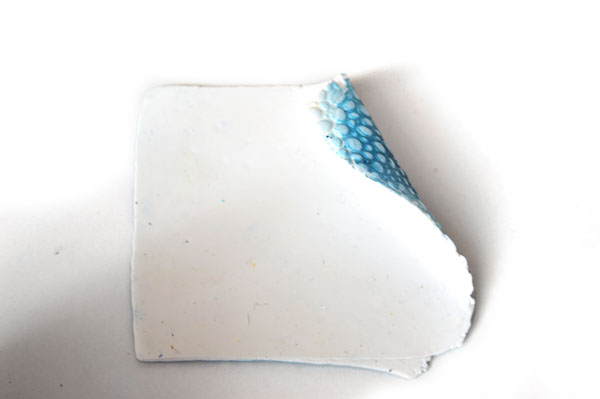
Cover your flat and colored sheets with the thinnest sheet of translucent clay.
Roll the sheets on the thinnest setting and gently stretch it. Lay the translucent gradually on colored sheet to avoid bubbles.

Push translucent on base with finger and after put it into your pasta machine.
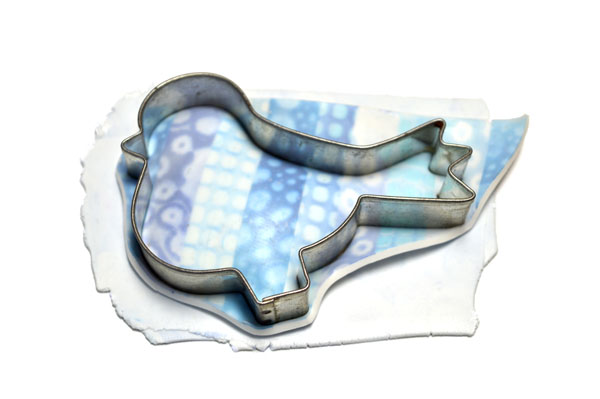
Put sheet through pasta machine from the thickest to medium setting. Don’t make it thinner so as not to be your pattern too stretched.

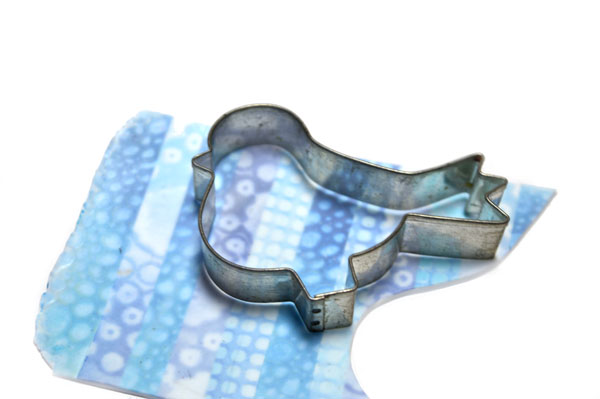
Take cutter with clay in hands. Press the clay to the edges of cuttter so it stuck but not cut through. Use your fingers to bulge puffy shape.
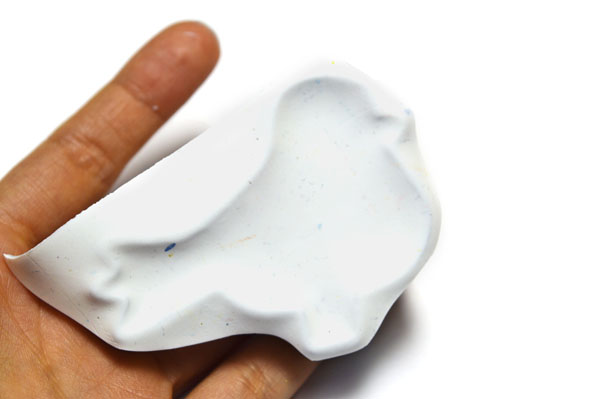
Prepare a thinner sheet (about 1 mm) and stuck it to work surface. Then put cutter with clay on this sheet and cut the shape through both layers.
Remove cutter and excess clay. Air will stay between layers of clay and it makes nice puffy shape.
Cure your creation according to the recommended temperature for at least 15 minutes.
If clay stucks in the cutter then bake both in oven (cutter must be from metal). After baking take the clay easily out.

Tento příspěvěk je také dostupný v jazyce: Čeština
2015 © Fruitensse


Pingback: Polymer Clay: Colorful Patterns | Paint. Draw. Blend.()